Winter Layering Guide — What I wear in the winter in the Yukon
There’s a saying in the north, there’s no such thing as bad weather just bad gear and I would say that stands very true, however, there’s also a secret to it which I will tell you.
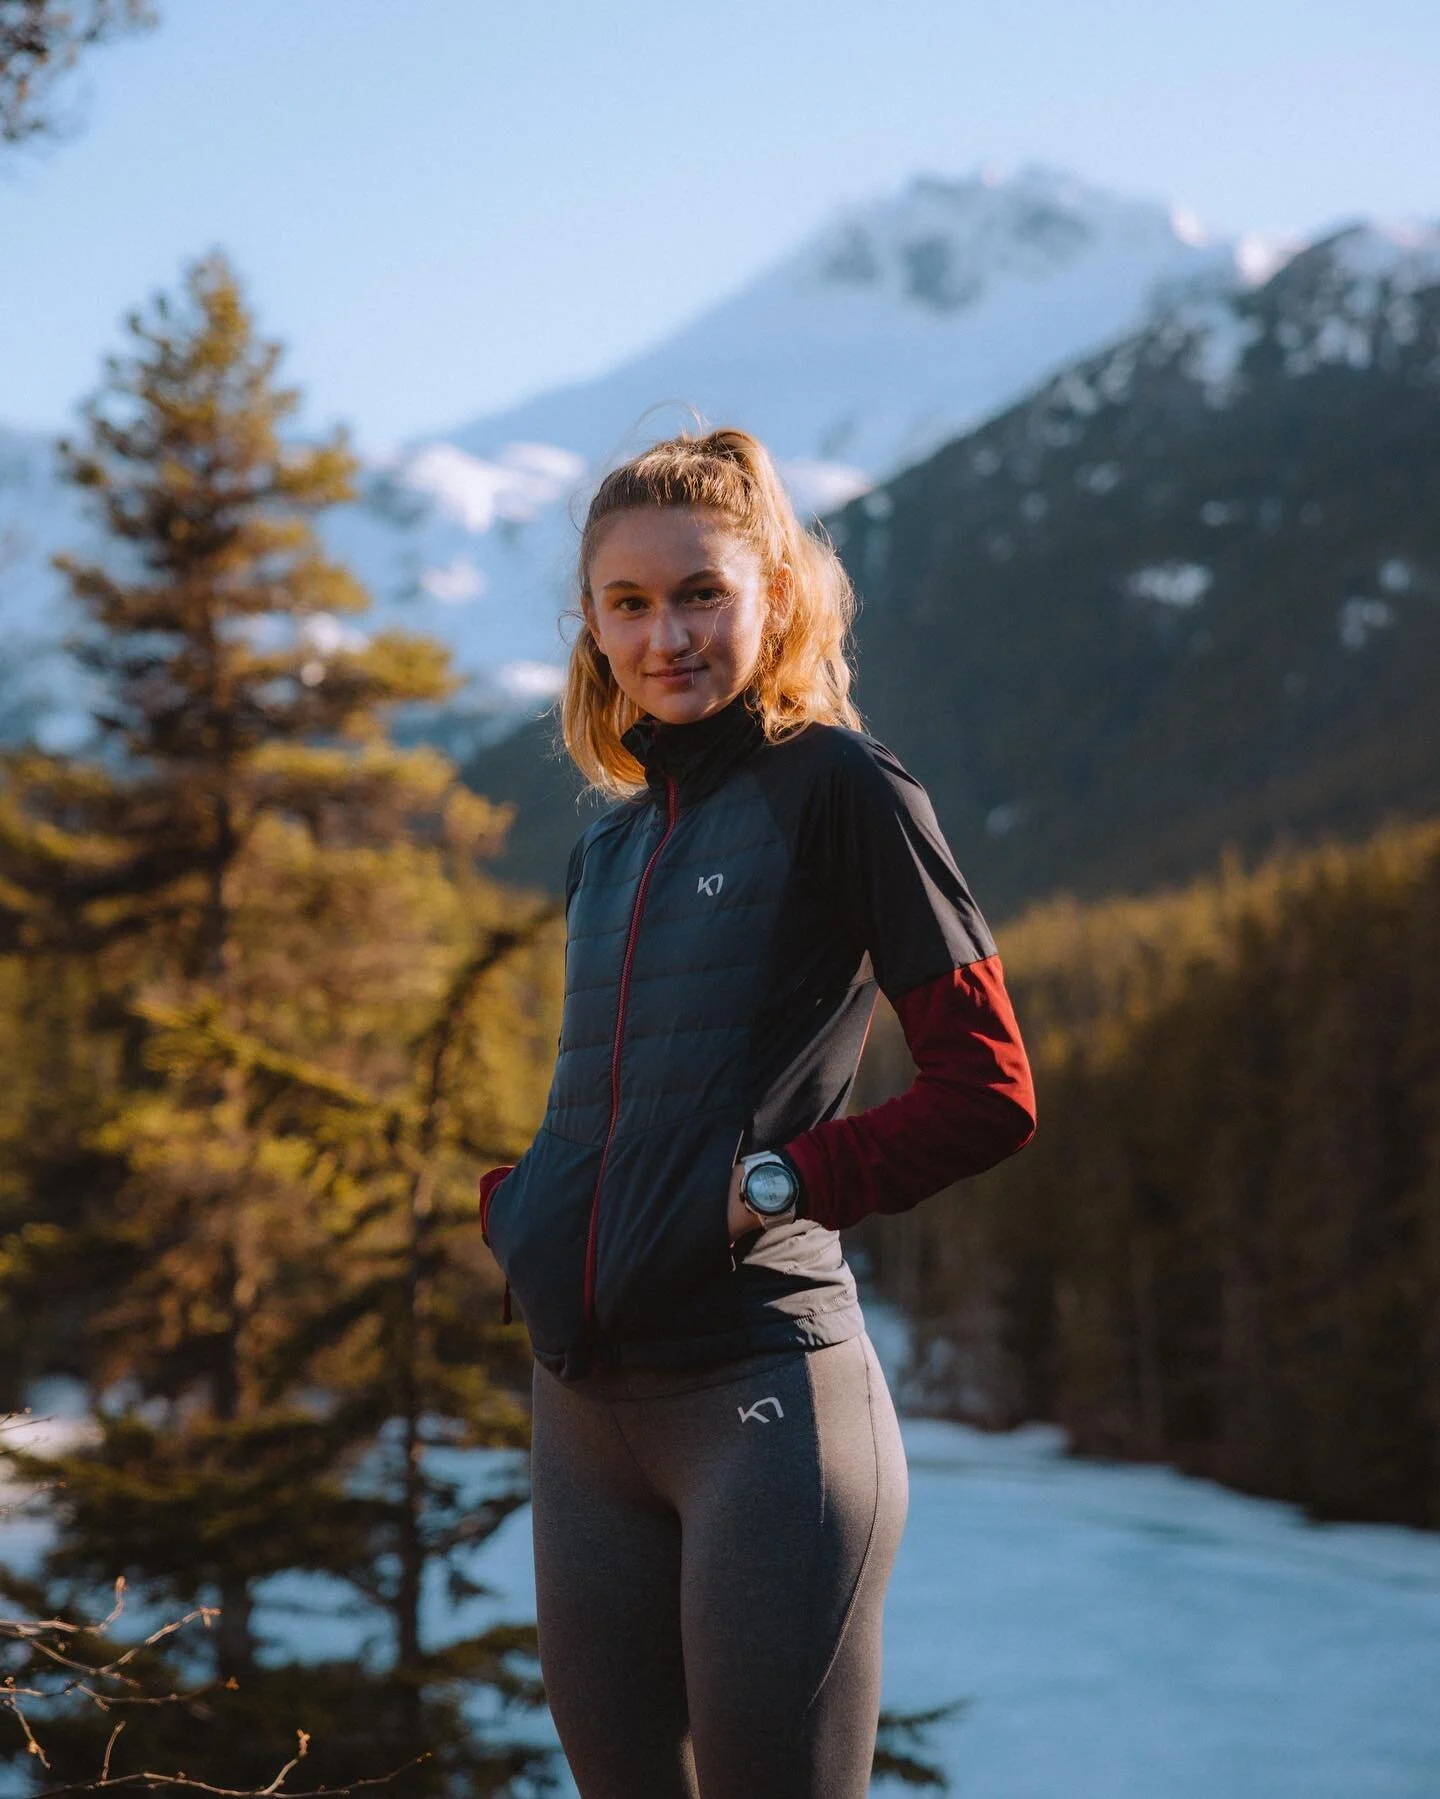
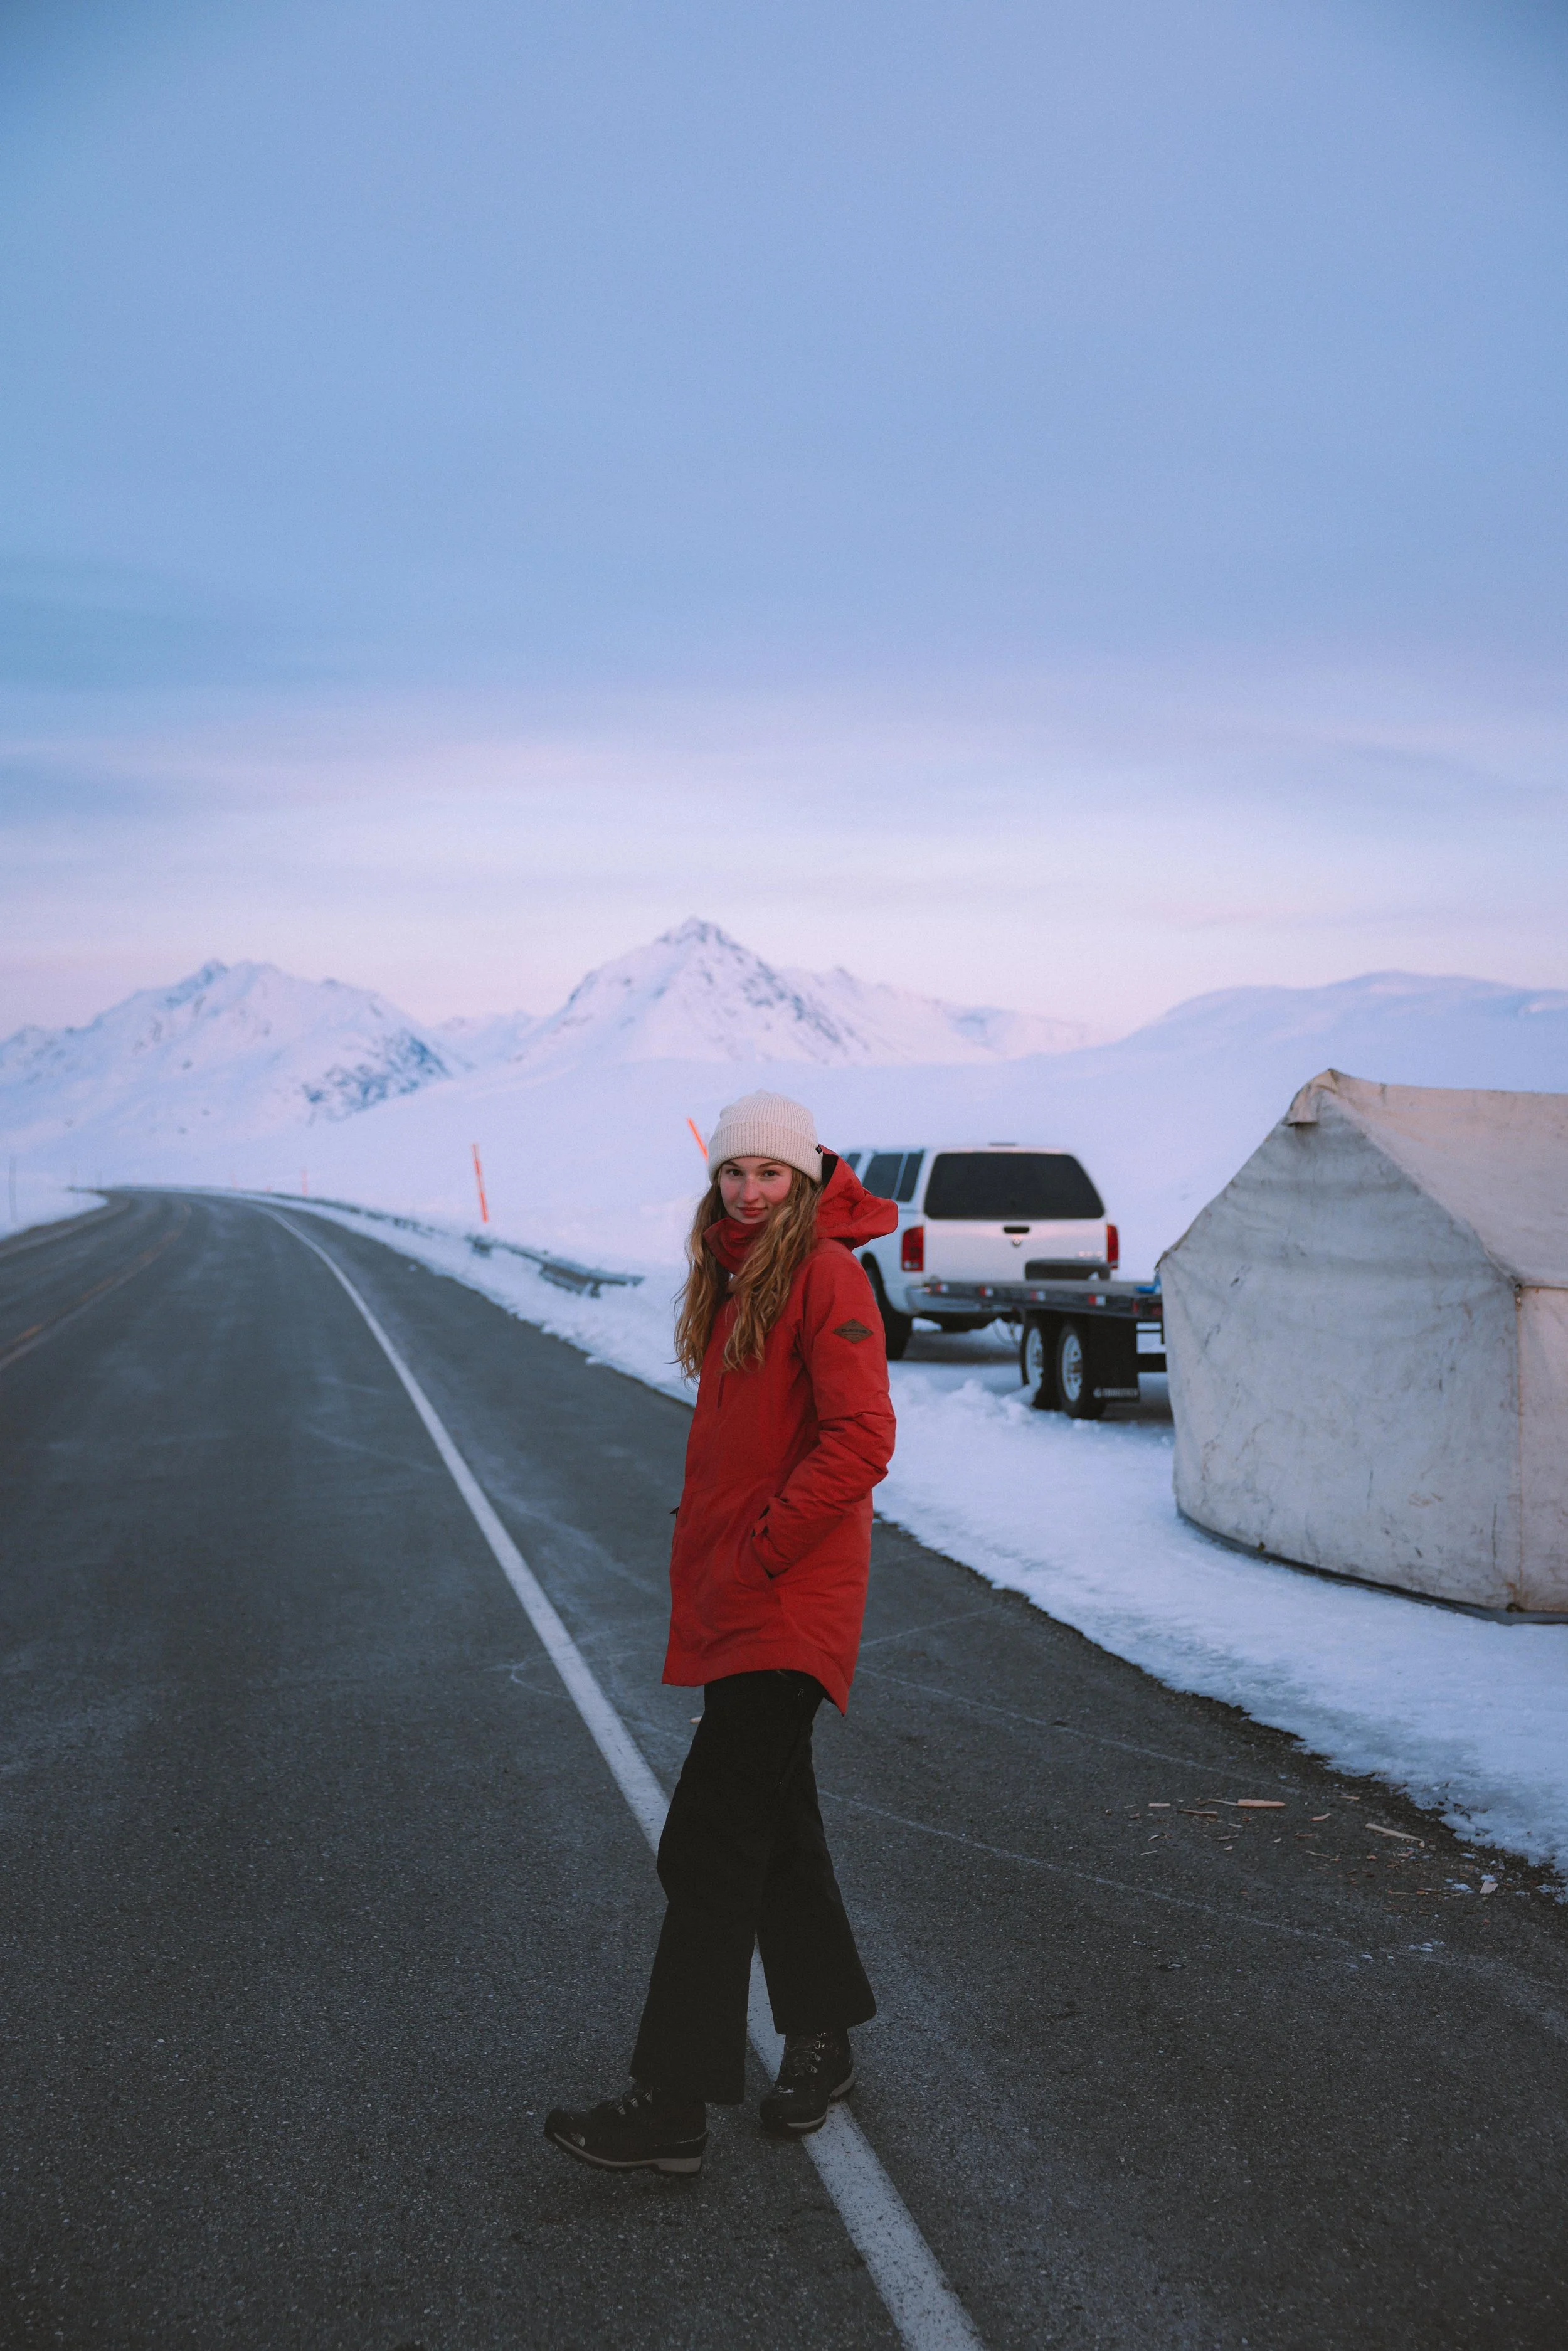
Layering system in -30C in the Yukon
Before we get into the guide, a couple of things:
Who is this for? This guide is based on my body and experiences, everyone is unique and your body may handle the cold differently so it will require some trial on your end but I would say this is a good starting place for most people. Here’s a bit of background on me, I’ve lived in the Yukon my whole life and would say I have a moderate tolerance to the discomfort of being “cold”. I would consider myself one of those people whose body doesn’t produce a ton of heat so my hands and feet get cold and stay cold quite easily which is especially common for women.
What activities is this for? This guide is more general and for activities that will get your body moving at a low to moderate intensity such as
winter hiking
alpine skiing
ski touring/backcountry skiing
walking
snowshoeing
winter camping
and more! I could go into more detail for each specific activity but for the sake of brevity, I’m keeping this more general and plan to do more in-depth future posts.
What temperatures and climate is this for? Weather is the biggest variable when it comes to dressing for the winter but the layer techniques I’m about to explain makes it very adjustable for temperatures anywhere from 0 C/32 F to -25 C/-13F (and colder but it starts getting a bit more complicated so that will be a later post). My experience is from Yukon’s climate which is on the colder and “dry” side, so it’s not very humid and has moderate precipitation however I would feel pretty confident in wearing this in coastal climates like Alaska, British Columbia, Iceland, and Norway as well.
The secret to staying warm in the North?
Layers, layers, LAYERS! Layering is the key to battling winters and will take you from being cold and uncomfortable to being warm and ready for anything
Layering is dynamic, you are always going to be adjusting your layers as your body heat rises when you start moving or cools down when you stop. The most important thing is to prevent sweating. Write that down ✅ Sweating is dangerous in the cold because if your layers get wet from sweating when you stop moving you will become exponentially colder and even become hypothermic, not to sound dramatic but the cold is deadly and needs to be taken very seriously. So how do you prevent sweating? Dressing in layers allows you to cool down or warm up with a lot more control than just an all-encompassing parka (parkas have their places too don’t worry). Think of it as a thermostat, you would rather have lots of small increments to adjust with rather than an on/off switch.
I’m mentally preparing you now that you might find yourself 5 min in and already peeling back the layers, that is totally normally. The important thing is you always have all your layers with you

Let’s get into the layers and what I wear:
Layer 1 - Baselayer:

Rose Baselayer from Kari Traa
A baselayer is the layer closest to the skin and should hug the body, don’t leave the house without one! This is debatably one of the most important layers because it pulls the moisture away from the body while also providing an extra layer of insulation. There are different weights and blends so even on a “warm day” you should be wearing a base layer but maybe just a lighter one. (I could honestly do a whole post on base layers).
Materials - merino wool, wool, synthetic, bamboo, hybrids but NEVER cotton
My go-to base layer:
On Top:
Rose Half Zip Baselayer Top - 100% Merino Wool from Kari Traa - this base layer not only fits great but looks good too. I love the high neck and half zip so that you can zip it down if your warm.
On the Bottom:
Rose High Waisted Baselayer Pants - 100% Merino Wool from Kari Traa - I have battled to find the baselayer bottom that fits just right but I have finally found it. It’s high-waisted and fits curves so it won’t fall down when you bend over or move around which is super annoying when you are wearing a bunch of layers and can’t reach it.
For Men:

Layer 2 - Mid-Layer pt. 1 :

Next is your mid-layer. I tend to wear two mid-layers (guilty of wearing 3 as well). The first mid-layer I wear is a fleece. Since there are more layers to come, you want a more fitted cut. Some people prefer a pullover to reduce the number of zippers they have. You can get some lighter or heavier weights but they all tend to be pretty close to the same
📍Tip: tuck in your base-layer and mid-layer in to prevent heat from escaping/getting in on your lower back.
Materials - merino wool, wool, synthetic, blends but NEVER cotton
My picks:
For men:

Layer 3 - Mid-Layer pt. 2 :
Next is going to be an insulating jacket layer such is going to be down or synthetic. This tends to be the first or second layer I shed when I get hot (depending on if it’s windy and how hot I am). This is where more variables can come into play with how warm or light you want it to be but either way, you don’t want to go big and bulky and I would opt for a hood. Generally, you’ll go for your classic down hoody/nano puff at around 650-800 goosedown fill or the Arcteryx Atom.
Down vs Synthetic?
There are pro’s and con’s to each.
Synthetic -
Lower warmth-to-weight ratio which means more bulk and weight compared to down
if you get wet it dries quickly and keeps its warmth
When do I wear it? I tend to wear synthetic in sweatier situations 😜 such as for ski touring on the skin track or in more mild weather close to 0 C/32 F where you might be getting wet from snow
My picks:
For Men:
Down -

Higher warmth-to-weight ratio than synthetic insulation. Down is very compressible (it’s great when your jacket comes with a stuff sack)
Requires good care to last longer so always air out your jacket. Never store you jacket compressed at home.
Down loses its warmth when it gets wet and can take longer to dry.
For fill, look for around 650-800 goosedown fill.
When do I wear it? I reach for my down jackets more often because I like the extra warmth. It’s great for low intensity activities and for high intensity I will just peel it off quicker.
My picks:
Arc'teryx Cerium Down Hoodie - Women's - is my current favourite. It packs in a lot of warmth for it’s size
Women's Stretchdown™ Hoody from Mountain Hardware - The 4-way stretch is pretty unique for down jackets which gives a lot of movement and freedom.
Ghost Whisperer 2 Hooded Down Jacket from Mountain Hardware - Mountain Hardware makes great down jackets, I’ve been rocking them for a long time and they’ve held up very well.
For Men:
…and sometimes I wear/bring both. That’s right. In colder weather or in remote areas I will wear both or at least bring both for peace of mind especially when winter camping or in the backcountry. It’s nice to wear the synthetic layer when you’re moving during the day and then have the dry down layer to throw on once you’ve stopped moving or you’re at camp.
Now, what about a mid-layer for your legs?
So legs are a bit different and they don’t always need as much layering depending on what you’re doing and how cold it is, however, I do rely on them as well. They are much like what you wear on top and will be fleece or for more warmth down or synthetic. You can come in 3/4 lengths to fit above your ski boot as well.
When do you need them?
For colder or windy environments. Around -10C and colder I will start to consider wearing a pair for low to moderate intensity activities.
If you plan on sitting in the snow. You’ll see in the next section, but I normally recommend just wearing a shell however with no insulation this can get very uncomfortable very quickly. If you think you might spend a lot of time kneeling or sitting on snow you will want to add a synthetic layer because you can get also wet from condensation.
Low intensity or lots of waiting. For downhill skiing, I will throw on a mid-layer because for the lines and lifts it can get chilly.
My picks:
Women's Polartec® High Loft® Pant from Mountain Hardware - this is the lightest option so good for higher intensities and/or warmer weather.
Women's Ghost Whisperer™ Pant from Mountain Hardware or Mountain Hardwear Stretchdown Pants- I have the Stetchdown Pants but it seems like they are discontinuing it?? Not sure why because it’s amazing so the Whisper would be a good alternative. I put these on when I want to be extra warm and cozy.
I have a synthetic Thinsulate 3/4 pants from Arcteryx that was discontinued but I also love it and I wear it resort skiing a lot.
For Men:
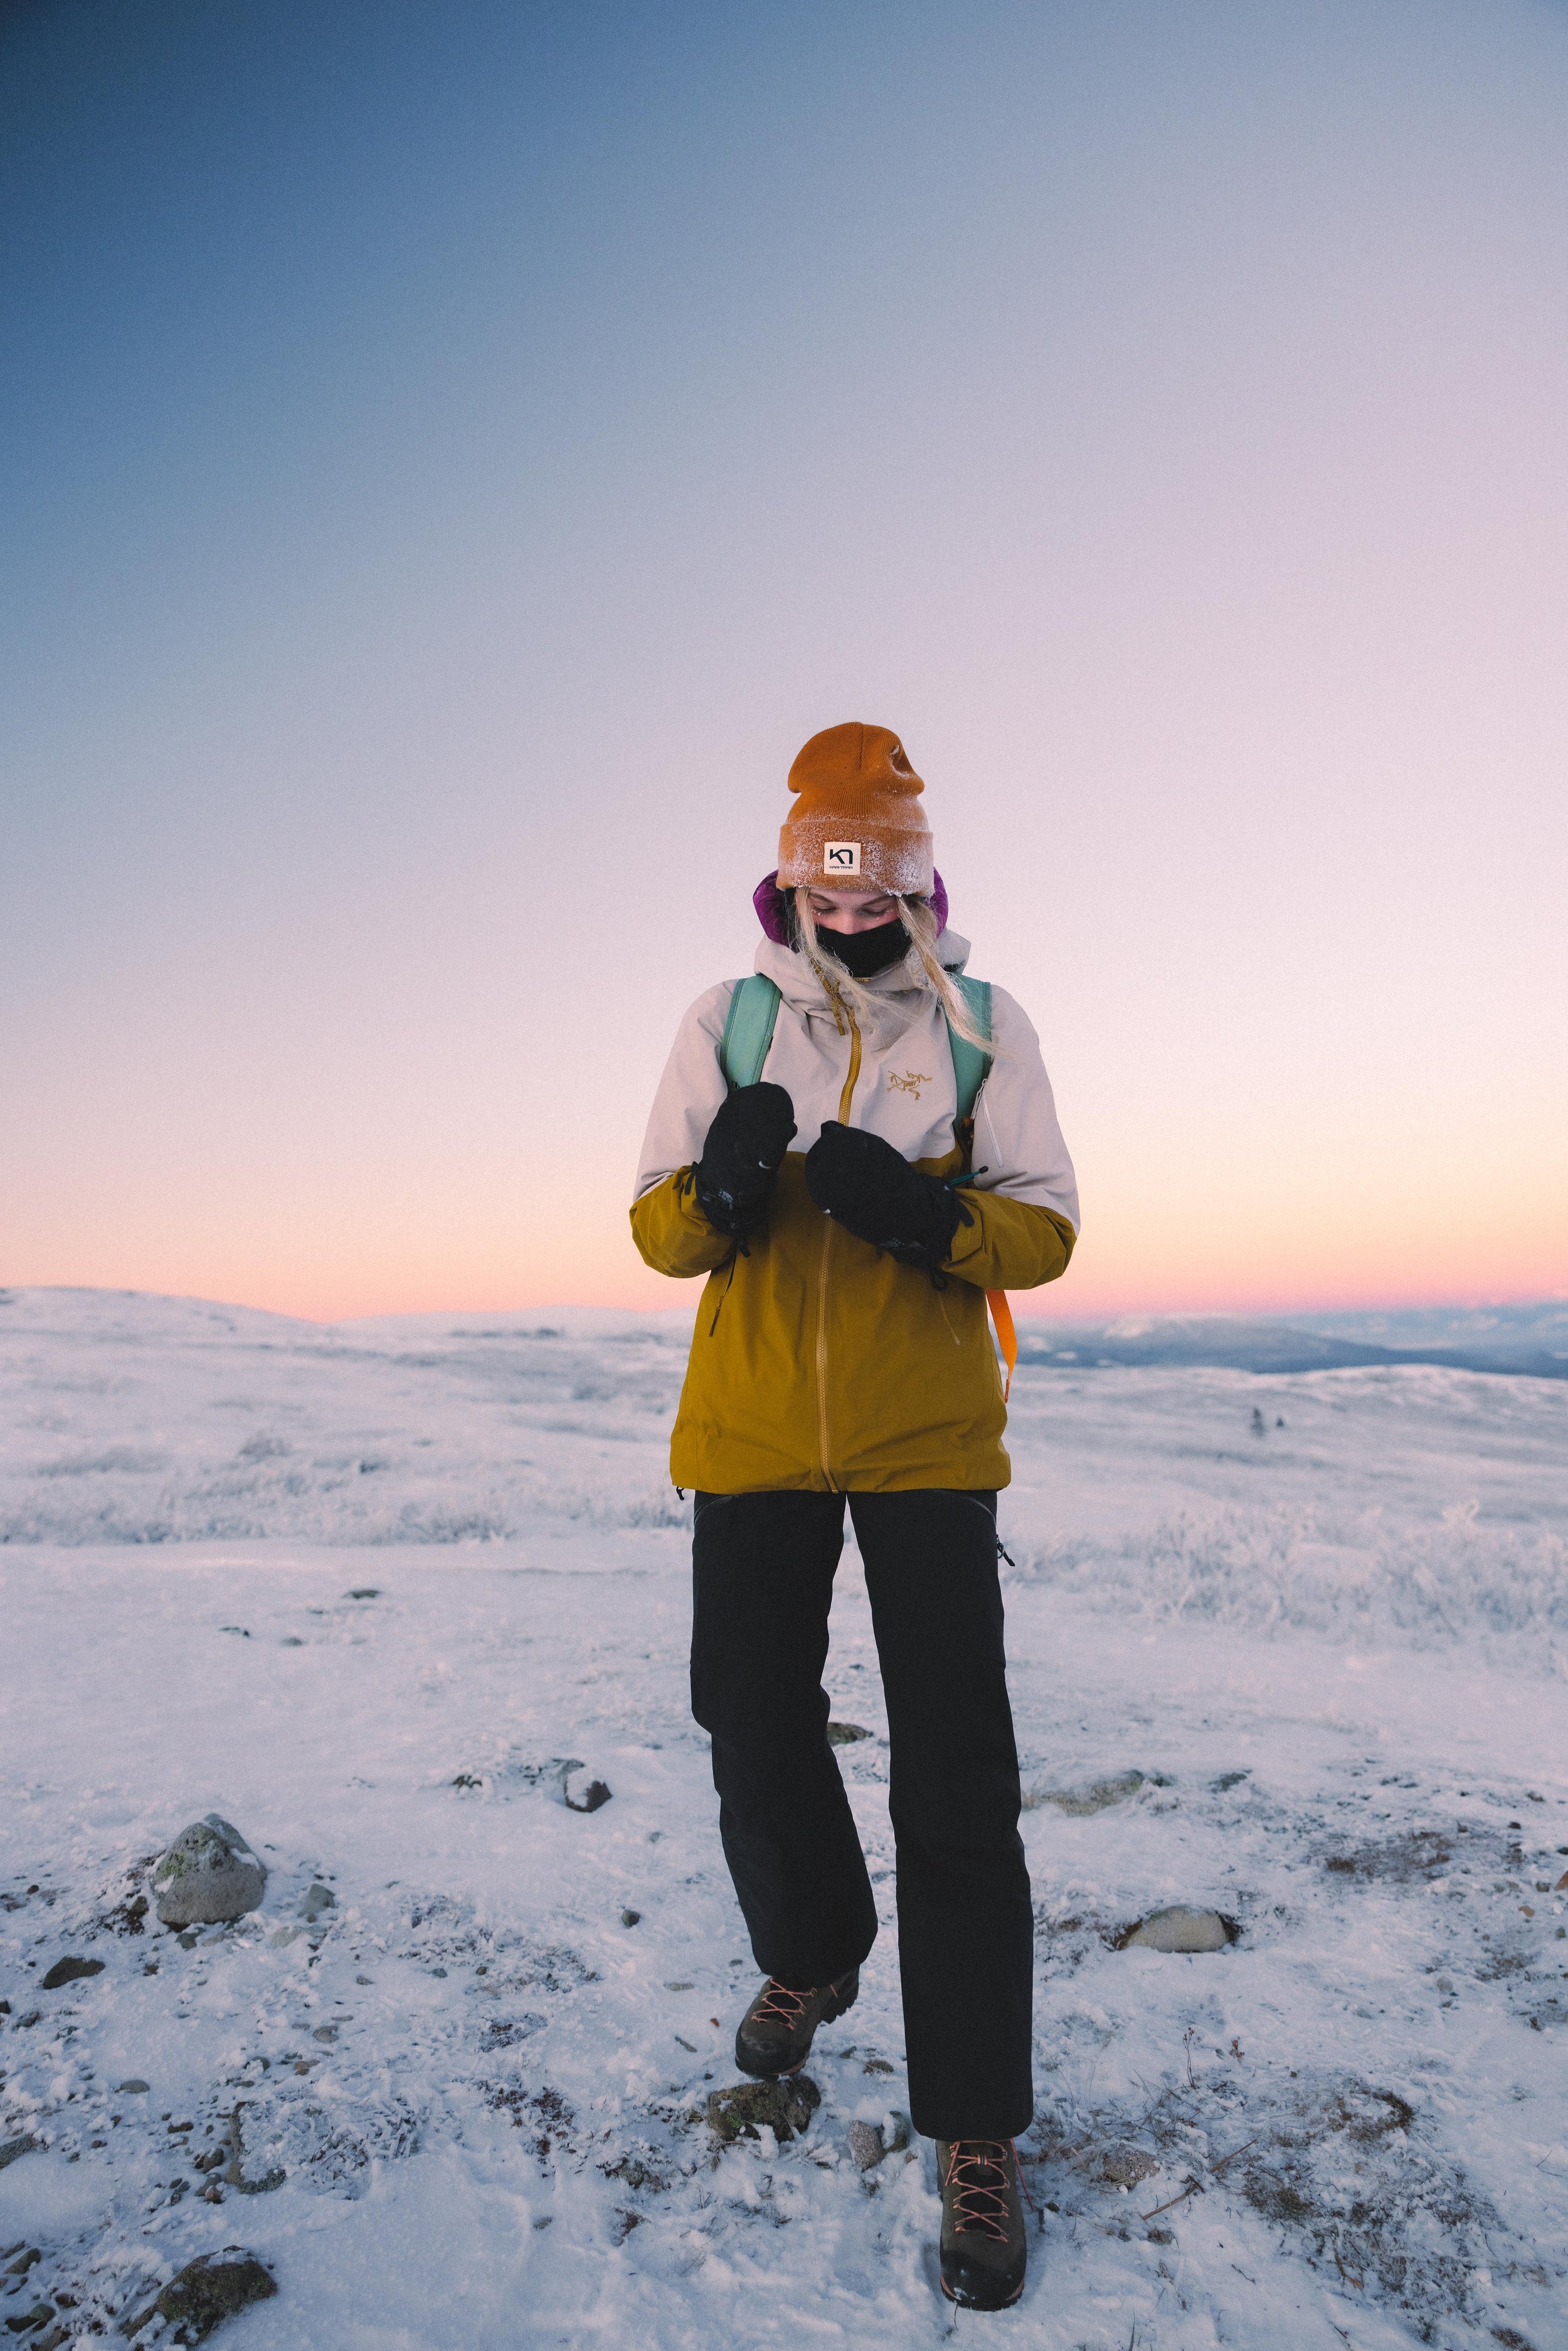
Layer 4 - Outer Shell

Getting sweaty in the Yukon backcountry
This is the final layer you will put on and it’s meant to protect you from the elements and keep you dry while keeping warmth in but letting moisture out, this is why a material such as Gore-Tex tends to be a favourite. You will need a shell for both your top and bottom. For the top, look for longer torso coverage (aka covers your butt) and a little bit thicker than your average summer shell. When I start to get warm one of the first things I do is open the vents on my jacket and bottoms and if I get even hotter I will take off my shell jacket if it’s not super windy.
📍Tip: Make sure you try it on over all your other layers! Either wear your layers to the store or throw some similar ones on while you’re there. I had to go up two sizes to make it all fit.
What to look for in a shell:
Has a hood (that fits over your helmet if you’re wearing one)
Tapped seems
Ventilation zippers
Lots of pockets because you’ll want to keep things you don’t want freezing on your body
waterproof
breathable
has light or no insulation
Materials:
Gore-Tex is a common one but there are other fabrics out there that are good but may not have as big of a name such as Pertex, The North Face FUTURELIGHT and OutDry.
My jacket picks:
Sentinel Jacket by Arcteryx - this is what I have and I would say it is overkill for most people and I wouldn’t recommend splurging on it unless you are spending a lot of time outside. I do however absolutely love the fit, feel, and look and have no regrets about buying it. Arcteryx is top-tier when it comes to thoughtful and engineered designs.
AK GORE-TEX Upshift Jacket - Women's Burton - If I had to buy a new shell today I would be very tempted to get this one. The AK line is very common in the north, it’s Gore-Tex and I like the more relaxed fit.
For Men:
Cottonwoods GORE-TEX Jacket - Men's
Men's Boundary Ridge™ GORE-TEX Jacket
AK GORE-TEX Upshift Jacket
My bottoms picks:
Arc'teryx Sentinel Pants - Women's - These are what I’m currently wearing. Again, I think it’s only worth it if you’re putting a lot of hours into your gear. I find the material a bit delicate and have actually ripped a whole. I would get these if you’re serious about doing ski touring or higher intensities.
WOMEN'S RECON STRETCH BIBS by Black Diamond - if I were to get a new pair I would seriously consider these. I would love pair of bibs, it has 4-way stretch and I think they look pretty good. Black Diamond always has reliable gear in my experience.
For Men:
Head, Hands, and Feet

The extremities are so important to keep warm. 40-50 percent of body heat is lost is through the head and neck
For your head:
For materials I prefer synthetic or merino wool, it sucks having something itchy again your skin.
A toque - to keep your head and ears warm. I pretty much wear one at all times!
Neck warmer - not only does it keep your neck warm but in cold and windy conditions you will want to pull it up over your nose to prevent windburn or frostbite and it also helps you breathe the cold air. You want the material to be relatively light so it doesn’t trap in a lot of condensation
Balaclava - offers more protection than a neck warmer as it pretty much covers your whole head except your eyes. You will want to wear a toque on top as well because the material is thin and you’ll look silly without one. I prefer wearing one because I find it’s warmer and it solves the annoying problem of when your neck warmer won’t stay up when you have a lot of hair😜 You can get different weights, I have a pretty light one so that it’s the most breathable and doesn’t get super soggy from your breath. Looked for a “hinged” design for adjustable coverage.
For your hands:
Your hands need a layering system too 🥰
Glove liner - just like the baselayer for your body, you’ll want a thin, lightweight, and tight glove to wear inside your mitts. I would go for a synthetic or wool blend as 100% wool isn’t very durable for the wear and tear of your hands. Adding this layer makes a huge difference in the warmth of my hands and it makes taking your mitts to do more nimble tasks more tolerable. Some liners will have touchscreen-compatible fingertips which is a win! When I get hot I end up just wearing these.
Mittens or Gloves - I’m personally a mittens gal because I find keeping my fingers together helps them stay warmer. For mitts or gloves, it is very important to get insulation and a waterproof shell because wet hands and freezing hands suck. This is a good time to splurge on some Gore-Tex.
FireFall/2 GORE-TEX Mitten - I’ve had these mitts for serval winters and they are still going strong
For your feet:
This is the toughest body part for me to keep warm and I think it’s a problem spot for most people. I know that I’ve stressed this a lot but keeping your feet dry is so important starting with your socks.
Socks - I love a good merino wool blend for my socks. I go for mid-weight to heavier cushioned socks and I go for a higher rise or a ski-length sock for skiing.
Winter boots - this is very specific to the activity you’re doing it is hard to give a great “all-round” recommendation without getting into too much detail so this will be a later blog post but here are a couple of recommendations.
Chilkat 400 Boot from The North Face- This is one of my day-to-day winter boots that I wear around town or on easier walks and hikes.
Alp Mate Winter Mid WP Hiking Boot from Salewa - for winter hiking.
Impact Winter Boot from Baffin - for very cold weather where you might be doing a lot of standing.
Gaiters (Optional)- To prevent snow and water from getting your boot when winter hiking or snowshoeing.
Optional - Having those heat pouches can be really great to have just in case your feet/hands get cold and there’s no hope for them warming up.

And that sums it all up! I hope this helps you stay warm on your next winter adventure ❄️
You might also like…